$ cat image.bmp
That's literally it. Bye.
If only it were that simple
Before I decided to embark on this short-yet-fun adventure, I had the questionable assumption that images were just a bunch of data (true) that could be directly printed out to the terminal (sadly, untrue).
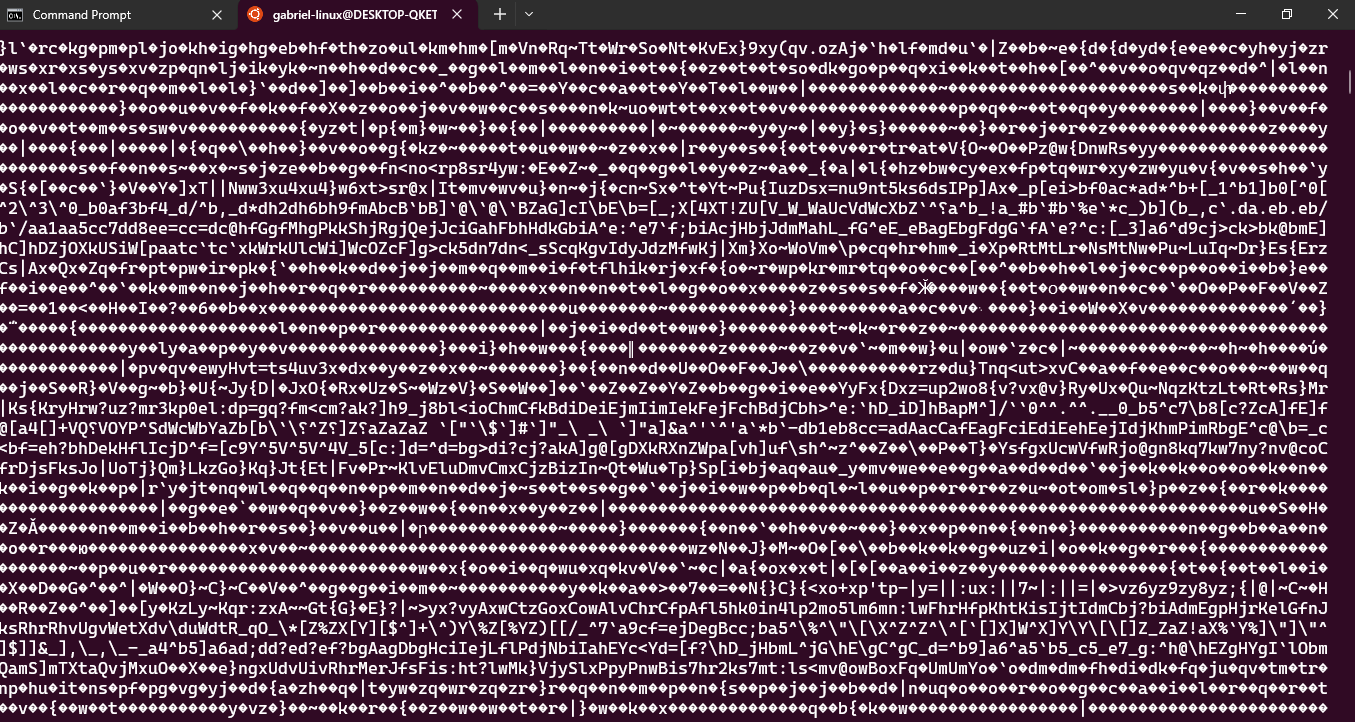
Unless your terminal supports implicit image parsing (new project idea?), the image data is just gonna be dumped as a bunch of meaningless text that you'll have no idea what to do with.
Like this:
In order to understand how to deal with this data properly, I had to start by knowing what it even was.
It's all just ones and zeroes
I'm sure you've heard this a thousand times by now.
Your computer only understands zeroes and ones
Likewise. But, it didn't really click until I decided to start this project. Everything running in your computer can be broken down to bits in some way. It's all just a matter of what standard was used to encode it.
I'll use a simple bitmap image to illustrate my point.
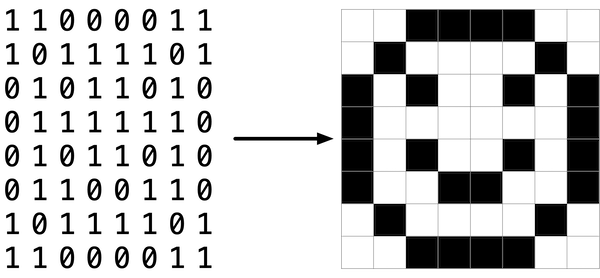
As shown above, a bitmap image is just a one-to-one mapping of bits to form some sort of picture.
All image formats follow this idea of mapping bits to represent a picture in some way, although most formats nowadays employ more complex encodings to allow for things like compression, colors, etc.
The story isn't different here, either. All that gibberish from before was a bunch of binary that my terminal couldn't decode in a sensible way.
Nice epiphany. What's next?
Now, we decode.
At the time of writing, my approach only works on bitmap (.bmp) images.
The reason is simple: Bitmap images were the most straightforward image format I could find.
Unlike its counterparts, bitmaps are barely (if at all) compressed. This means that their image data is relatively straightforward to read. Unfortunately, this also results in large file sizes for images stored in this format. As a result, they aren't as common as something like JPEG, which is compressed with almost five algorithms back-to-back.
I'm not gonna stop at bitmaps though. I'll update the post as I learn more about image formats and their decoding processes. So, uh, stay tuned? Idk.
Bitmap images
So, the plan here was to read the bytes associated with pixel data of the image, and then use ANSI escape codes to print out text that has been colored with the pixel data to the terminal.
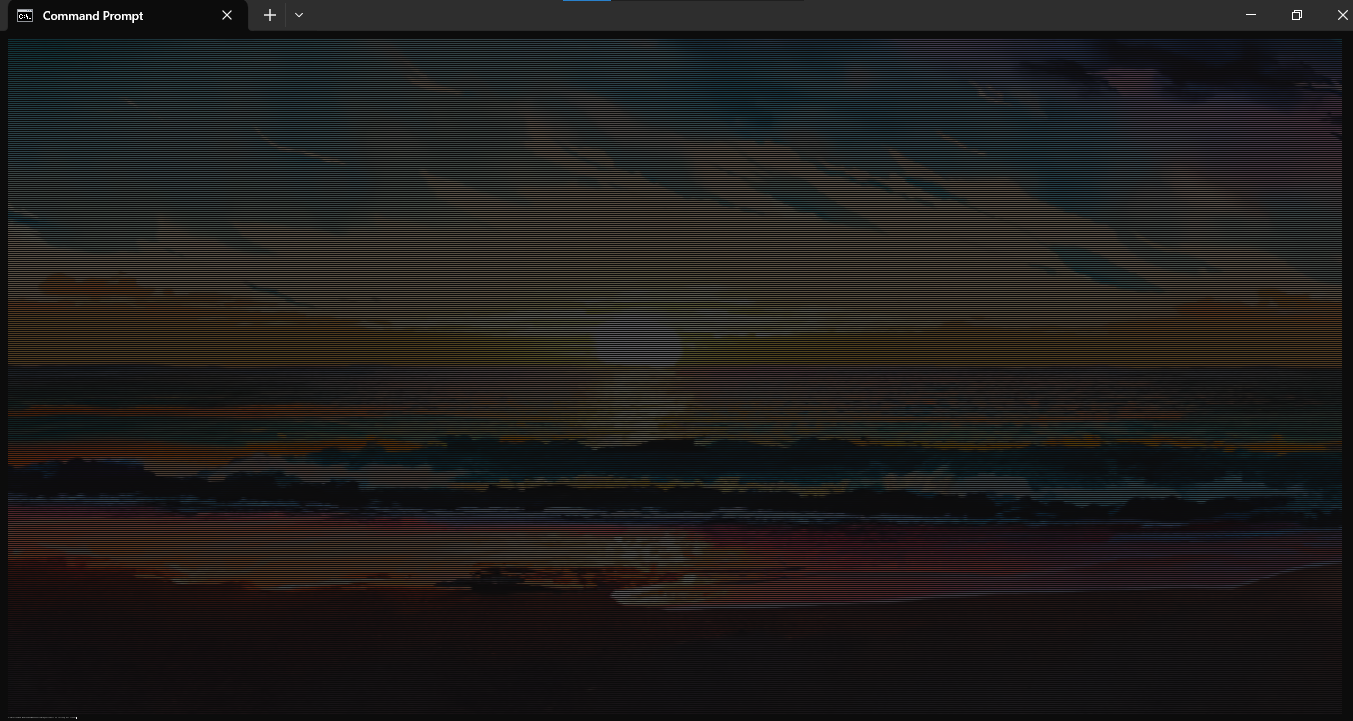
This is the image I used for this project
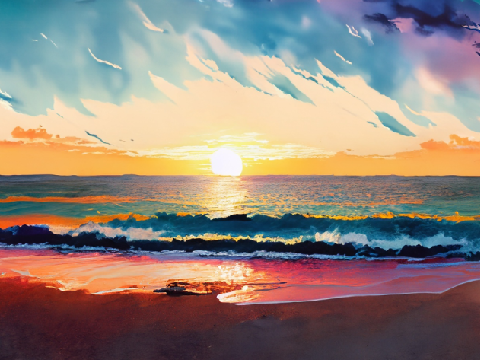
You might be confused about the sudden leap from a black-and-white bitmap image to this beautiful combination of colors. There's no way they're both bitmap images, right?
Well, they are! Remember when I said that some formats can choose to use more complex encodings to allow for coloring? This is an example of such a case.
The factor that decides this quality in an image is called its bit depth. It's essentially how many bits are used to represent the smallest unit in some sort of data. In this case, it refers to how many bits are used to store the color information of a single pixel in the image.
The bit depth for this particular image is 24 bits. More on how I arrived at that number later. This means that each pixel of this image is comprised of 24 bits (or 3 bytes). In this case, each byte is used to store one part of a pixel's RGB data.
Okay, decoding time!
To know how to decode it, I needed to understand exactly how it was structured. Thankfully, Wikipedia came in clutch.
According to them, bitmap files are structured like so:
- BMP header
- DIB header
- Pixel data
The fact that there are two headers really threw me off, especially since the second one is so dependent on what device you're working on, but I got used to it eventually. Also, all the bytes except those of the signature had to be read in little endian form.
BMP Header
This header is just a sequence of bytes that denotes the signature, size, two reserved and generally unused bits, and the image_start offset of the pixel data's location. I had to follow a pretty nice video to understand how to correctly read the bytes, since this was my first time doing anything of the sort. I ended up with this for parsing the BMP header bytes:
with open(f'480-360-sample.bmp', 'rb') as f:
    # Parses the BMP file header
    signature = f.read(2).decode('ascii')
    size = int.from_bytes(f.read(4), 'little')
    reserved_1 = int.from_bytes(f.read(2), 'little')
    reserved_2 = int.from_bytes(f.read(2), 'little')
    image_start = int.from_bytes(f.read(4), 'little')
DIB Header
This header denotes the dib_header_size, width, height, bits_per_pixel (this is the bit depth btw) of the image, as well as some other values that I didn't use or really care about:
#... continues from code above
    # Parses the DIB header section
    dib_header_size = int.from_bytes(f.read(4), 'little')
    width = int.from_bytes(f.read(4), 'little')
    height = int.from_bytes(f.read(4), 'little')
    color_planes = int.from_bytes(f.read(2), 'little')
    bits_per_pixel = int.from_bytes(f.read(2), 'little')
    compression_method = int.from_bytes(f.read(4), 'little')
    image_size = int.from_bytes(f.read(4), 'little')
    horizontal_resolution = int.from_bytes(f.read(4), 'little')
    vertical_resolution = int.from_bytes(f.read(4), 'little')
    colors_in_color_palette = int.from_bytes(f.read(4), 'little')
    important_colors = int.from_bytes(f.read(4), 'little')
PIXEL DATA!
Finally! The moment I had waited for had arrived! I wrote a nested loop to print out some ANSI-colored characters for the height and width of the image, and was ready to behold the fruits of my labor!
# Moves file pointer to the beginning of the image data
f.seek(image_start)

for _ in range(height):
    for _ in range(width):
        # Little endian means that RGB is now BGR
        blue = int.from_bytes(f.read(1))
        green = int.from_bytes(f.read(1))
        red = int.from_bytes(f.read(1))

        print(f"\u001B[38;2;{red};{green};{blue}m", end='')
        print(".", end='')
        print("\u001B[0m", end='')

    print()
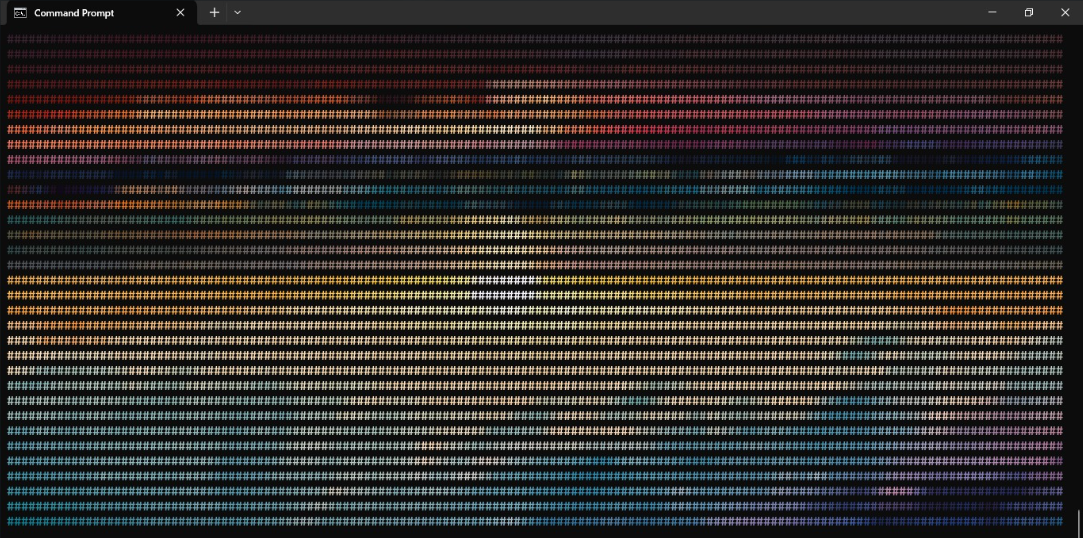
And I got-!
...what?
What happened?
Well, if it wasn't clear, the image was simply too big for the terminal window to display it properly.
Not gonna lie, I almost gave up here. I wasn't in any mood to figure out how to downscale images from scratch, so I had the thought of just stopping here and moving on with my life.
That is, until I stumbled across-
FFmpeg
Some may call it cheating. I call it using the right tool for the job (it's cheating bro).
I decided to introduce a dependency to my program in the form of FFmpeg, a tool for working with media files. Wasn't really happy with that, but what else could I do that didn't involve me losing my mind?
Some Google searches later, and I settled on this command to downscale the image and save the new image as a temporary file:
ffmpeg -i {input_image} -vf scale={width}:{height} {temporary_image}
All I had to do was pass in the dimensions of the currently active terminal to the command. Python makes it trivial:
import os

cols, rows = os.get_terminal_size()
From this point, it was simply a matter of running the command in Python. Once again, trivial:
import subprocess

subprocess.run(
    ['ffmpeg', '-i', input_image, '-vf', f'scale={cols}:{rows}', f'temp-{input_image}'],
    shell=True
)
Finally, I just had to switch out the file being read from to the temporary file, so it could read with the proper dimensions:
with open(temp-{input_image}, 'rb') as f:
    #... other code remains the same
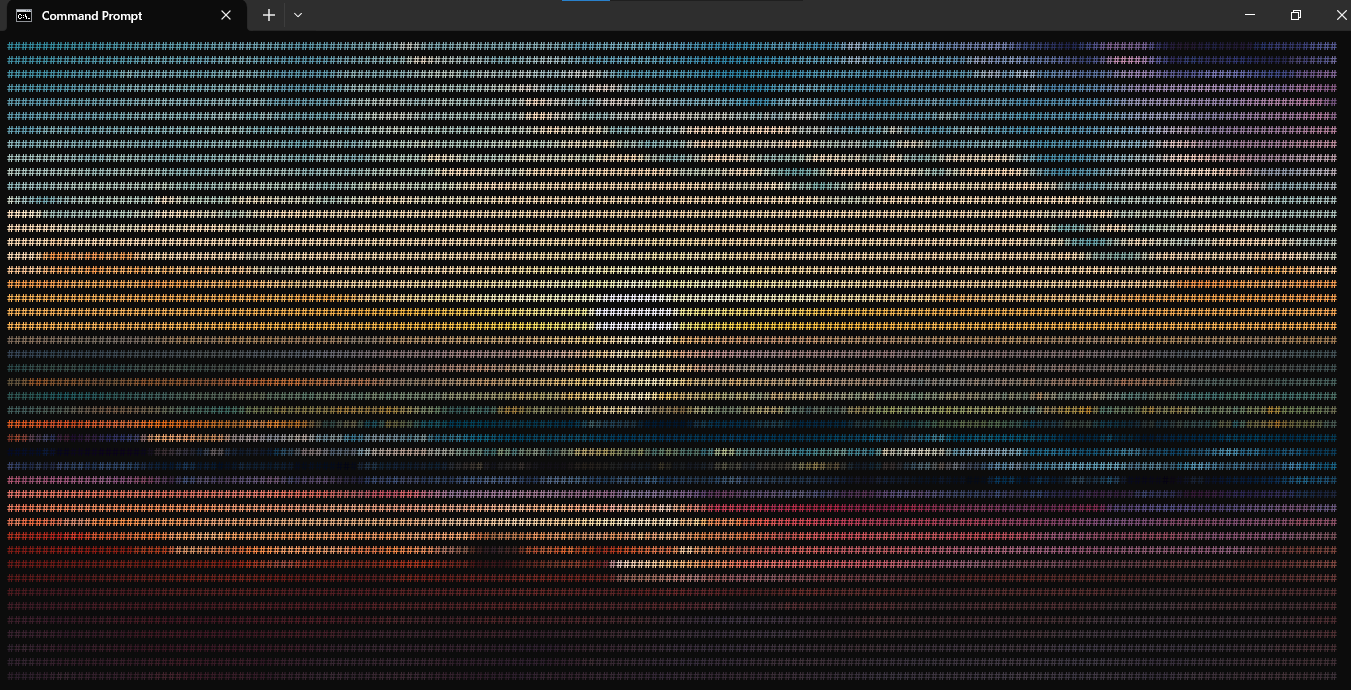
And boom! I ran the code! And-!
There was some ghost of the image in there, yes. But, it was upside down.
I vividly remember this part of the project. I remember it because this is when I, in my sleep-deprived irritable state, threw the code into the nearest LLM I could find with a prompt to rotate the image for me. Here's the code it returned, for those who wish to use it. It even solved a potential problem I had yet to encounter, lol:
# Calculate row size and padding
row_size = ((bits_per_pixel * width + 31) // 32) * 4
padding = row_size - (width * 3)

for y in range(height - 1, -1, -1):
    # Move file pointer to the start of the current row
    f.seek(image_start + y * row_size)

    for _ in range(width):
        # Little endian means that RGB is now BGR
        blue = int.from_bytes(f.read(1), 'little')
        green = int.from_bytes(f.read(1), 'little')
        red = int.from_bytes(f.read(1), 'little')

        print(f"\u001B[38;2;{red};{green};{blue}m", end='')
        print("#", end='')
        print("\u001B[0m", end='')

    print()
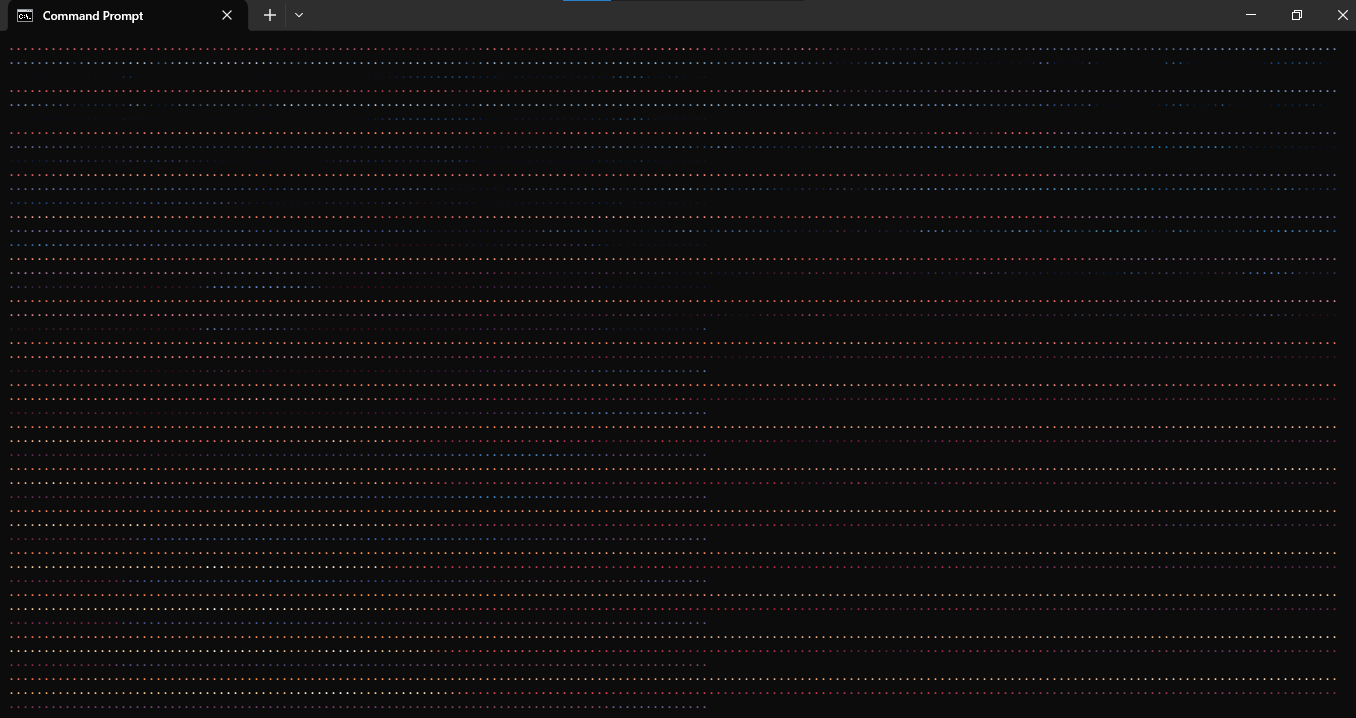
And, finally, I got what I was looking for. You might have to zoom in a bit if you're seeing dark patches. Sorry.
It looks even better when I've zoomed all the way out on my terminal before running it.
At this point, I felt confident enough to post it to two Discord servers I'm on, and I got nice feedback. I also got a lot of suggestions to use Unicode block characters (U+2588) for the image generation to make it look more natural.
They were so damn right.
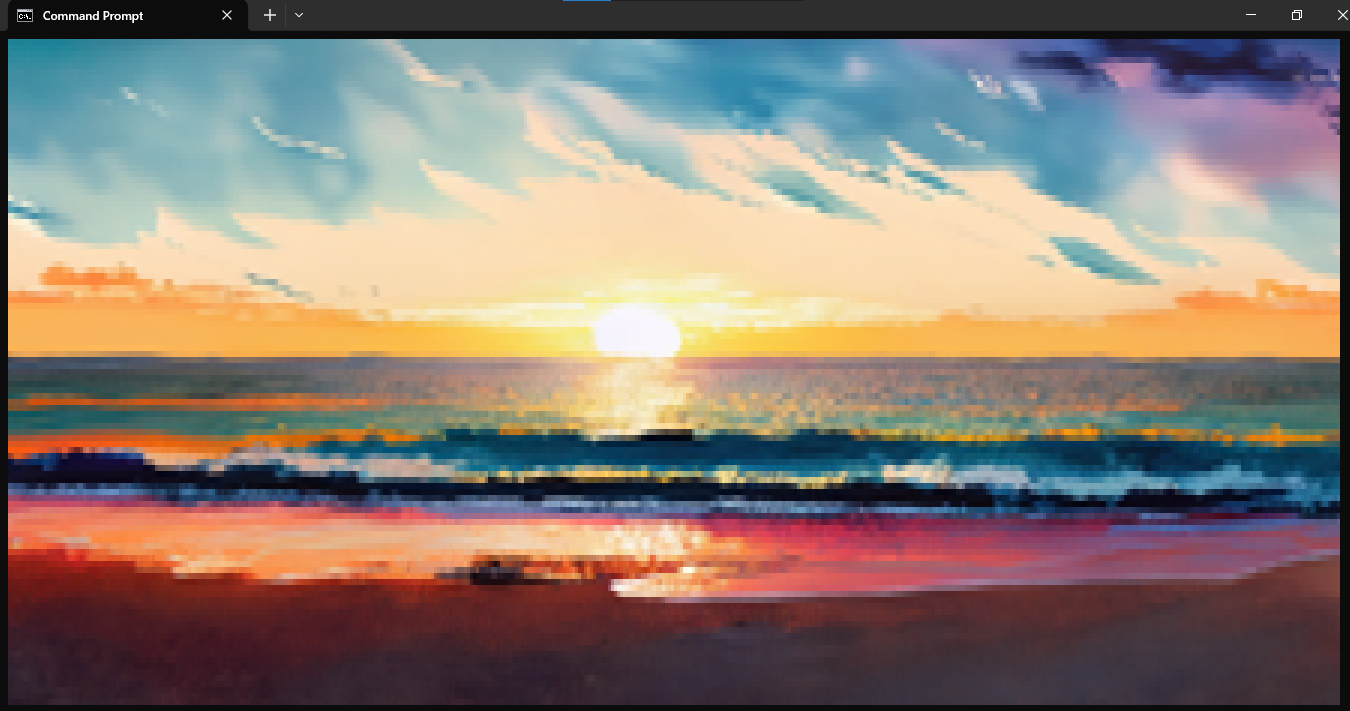
It looks more like a pixelated image than a sequence of colored characters. This is much easily noticeable at smaller terminal window sizes.
More formats soon
I hope to update this blog with my experience of decoding and printing out other images formats to my terminal, eventually. Until then, thanks for reading!